The Quest for Local AI Hero Image Generation
In less than one hour, I had my Astro blog up and running. Of course, with lots of errors about missing hero images. Claude was “kind” enough to include a heroImage: blog-post-hero-image-1.jpg in every one of my posts, and of course, it doesn’t work. The photo is missing and the way Astro imports images causes it to fail without proper configuration. Now I need a new feature: I want auto-generated hero images for my blog posts.
The Hero Image Dilemma
I want the hero image to look beautiful and relate to the content of the blog. I don’t want to draw it myself because it would surely be terrible. I could use stock photos, but they’re so… outdated already. And it’s not easy to find something free and related to what I’m writing. This is a repetitive task that I’ll need to do every time I write. I just want to write, full stop. I’m not even keen to manually do spell check and proofreading—that’s why Claude makes this whole blog a reality! Naturally, I asked Claude what my options are for generating images, and it pointed me to a few services: Unsplash, Pexels, and Pixabay. They’re all free, at least for my use case—I won’t need to pay. Why not use them all?
I prompted: “Create a script to generate hero images for my blog posts, using Unsplash, Pexels, or Pixabay randomly. The script should use TypeScript and relate to the content of the blog post.”
📁 Download the script: generate-hero-images.ts
Then I signed up and got the API tokens from those services and put them in a .env file:
# Stock Photo API Keys for Hero Image Generation
# Get your API keys from:
# - Unsplash: https://unsplash.com/developers
# - Pexels: https://www.pexels.com/api/
# - Pixabay: https://pixabay.com/api/docs/

# At least one API key is required for the script to work
# The script will randomly select from available APIs

UNSPLASH_ACCESS_KEY=your_unsplash_access_key_here
PEXELS_API_KEY=your_pexels_api_key_here
PIXABAY_API_KEY=your_pixabay_api_key_here
It works! But… not all the time. It returns photos that I don’t think I’d put on my posts myself. Claude cleverly uses the blog post’s keywords for search terms, but sometimes it returns no results at all, and other times it just returns a fixed set of images that never changes. I want vibrant! I want something different every time I execute the script so I can pick what I want for the final image!
What Makes a Great Hero Image?
Something related to the content, even very abstract—that’s enough! A.k.a. relevance! But “be specific,” as the AI experts say! How can I be specific enough for an abstract hero image?! Below is the list of features Claude created for me—what’s required of a hero image:
- Relevance: Directly relates to the post content
- Emotion: Evokes the right feeling (excitement, curiosity, trust)
- Clarity: Readable and impactful even at thumbnail size
- Brand consistency: Matches the overall site aesthetic
Well, since I’m writing with Claude’s help, naturally I’ll need to run a text-to-image model for my purpose. Claude can generate a prompt for the model to generate an image! And here comes Hugging Face’s FLUX.1-schnell. Disclaimer: I have no experience with running my own generative image AI model, and Hugging Face—I’ve heard about them a lot but never actually used them. So I just picked what seemed to be the most popular model on Hugging Face for the purpose. Also, this will be a good chance for me to get started in this models world, and maybe customise later on.
The Local Generative AI Server for Hero Image
Setting a simple goal: a local server running a generative image model that will return a hero image with a single prompt. I’m using an RX 9070XT on a Windows machine, so the server should (somehow) leverage the GPU to improve generation speed.
The goal sounds simple enough, but the world of AI models is, in my opinion, quite… messy! In some sense, I have to pick the correct version of the correct pip package—just a change in the minor version number can break the whole ecosystem/setup. To tell the truth, I expected better stability, not this level of fragility! I guess the fact that AMD is still trying to catch up in the AI computational race, and the main focus of the field is on training the models (which makes all the difference), not the coding or using the model part, contributes to it. At the end of the day, loading the whole 26GB model is one line of code, and generating an image is only 10 lines!
I came to the game fully aware that the best-supported system isn’t Windows—they mainly support Linux/macOS. I’ve run it all before: dual boot, multiple boot, VMs with Fedora, OpenSUSE, Debian, CentOS, Ubuntu, even Hackintosh. They’re not unfamiliar territory.
But I don’t want to dual-boot anymore. No more separate VMs in VMware, VirtualBox, or Hyper-V either. Windows Subsystem for Linux (WSL) works quite well nowadays, and containerisation with Docker is seamless, fast, and easy.
We can’t ignore how consumer internet speeds make this possible! Pulling 60GB of images on a 100Mbps connection would take nearly 2 hours. My mind drifts back to my first internet connection at 56Kbps—that would have been 106 days! Thankfully, I’m on 500Mbps now, so it’s only about 15 minutes.
The AMD GPU Wrestling Match
My first challenge was to get AMD ROCm and PyTorch working on my WSL. Thankfully, AMD has an 📋 official guide for WSL. Following it exactly to every point made my WSL a working environment ready for pulling a Hugging Face model. Don’t forget to use pyenv and pyenv-virtualenv—setting them up should be quite straightforward.
And… they don’t work!
Well, everything seems so simple, yet errors happen at every step:
- PyTorch didn’t see my GPU
- Pipeline failed because of a
sentencepiecedependency issue - Suddenly
protobufis a requirement for the pipeline to work - The model I wanted was gated—needed a Hugging Face account, API token, and EULA acceptance
- Random SDMA (System Direct Memory Access) errors that required disabling it
- Without
TORCH_ROCM_AOTRITON_ENABLE_EXPERIMENTAL=1, the model wouldn’t load on my GPU
Most importantly, I just couldn’t get ROCm and PyTorch to play nicely and load the model directly to GPU. Claude suggested loading using CPU and memory, then moving to GPU using .to("cuda"). That didn’t work either.
This part seemed like it was taking forever to resolve. I nearly gave up.
Until Claude suggested .enable_sequential_cpu_offload() and voilà—it’s finally working! It wasn’t without trial and error, but I could finally taste the sweetness of success. Generating a hero image took around 18 seconds to 1 minute on my home PC—not too bad for a WSL setup.
I found out that the generative AI for images community prefers to use AUTOMATIC1111 (what, he’s got Uncle Ho as his avatar, and it looks like it’s taken off a 500đ note :D), SD.Next, and ComfyUI. I tried SD.Next and it seems like it tried to set up everything for me, but it just doesn’t work straight out of the box. I may try ComfyUI later since it seems to fit well into my use case. Anyway, building the local server with Claude’s help was quick, but troubleshooting and making it work took a whole evening from me—yet it was good learning for me!
Check out this repo if you somehow want to do it yourself: local-image-gen
Now that I’ve got FLUX.1-schnell working, I wanted to try other models. Naturally, Stable Diffusion came to mind—I wanted to try the InstantX/SD3.5-Large-IP-Adapter. But for some reason, Hugging Face kept throwing 404 errors at me (it was looking for some config JSON file that was apparently missing from the repo), so I had to roll back to the base stabilityai/stable-diffusion-3.5-large. With the experience I’d accumulated setting up FLUX, it was just a breeze to get it up and running. And yes, I did try to load it straight to GPU, and then pure .to("cuda"), but none worked—only sequential offload is working so far for me. I had Claude write a separate sd_server.py and then a unified_server.py for both models. You can check them out in the repo above.
Consuming the Service
Now, Claude was happy to provide me with 2 clients: 1 GUI and 1 command line to test my server. But I needed a TypeScript client to incorporate it as a script for my Astro blog. I ended up having this in my package.json:
"scripts": { "dev": "astro dev", "build": "astro build", "preview": "astro preview", "astro": "astro", "generate-hero-images": "tsx scripts/generate-hero-images.ts", "image-gen": "tsx scripts/image-gen-client.ts" },📁 Download complete script: image-gen-client.ts
Here’s the core part - sending the request to my local AI server and saving the image:
async generateImageFile(request: GenerateRequest): Promise<ArrayBuffer> {
const response = await fetch(`${this.baseUrl}/generate_file`, {
  method: 'POST',
  headers: { 'Content-Type': 'application/json' },
  body: JSON.stringify(request),
});

if (!response.ok) {
  const errorData = await response.text().catch(() => response.statusText);
  throw new Error(`Generation failed: ${errorData}`);
}

return response.arrayBuffer();
}

async generateAndSave(request: GenerateRequest, outputDir: string, customFilename?: string): Promise<string> {
console.log(`📝 Generating: "${request.prompt}"`);

const startTime = Date.now();
const imageBuffer = await this.generateImageFile(request);
const totalTime = Date.now() - startTime;

await fs.mkdir(outputDir, { recursive: true });

const filename = customFilename || `flux_${safePrompt}_${timestamp}.png`;
const filepath = path.join(outputDir, filename);

await fs.writeFile(filepath, new Uint8Array(imageBuffer));

console.log(`Generated successfully! Total: ${(totalTime / 1000).toFixed(2)}s`);
return filepath;
}
📁 Download complete script: flux-client-enhanced.ts
And of course, a custom Claude command to generate hero images by reading the blog post:
📁 Download the command: hero-image-gen.md
# Hero Image Generator Command

Generate hero images for blog posts by analyzing content and creating appropriate prompts.

## Usage
```
/hero-image-gen <blog-post-identifier>
```

## Key Instructions

3. **Generate image prompt**:
 - **IMPORTANT: Keep prompts under 77 tokens** - CLIP limitation
 - Always start with: "Hero image landscape (16:9), high contrast, vibrant"
 - Example: "Hero image landscape (16:9), high contrast, vibrant. Software architecture
   visualization. .NET Aspire framework, microservices. Purple and blue colors."

4. **Generate the image**:
 - Call: `pnpm run image-gen "$prompt" --width=1024 --height=576
   --output-dir="src/assets/blog-images" --filename="{safe-title}-hero.png"`

5. **Update blog post**:
 - Add `heroImage: ../../assets/blog-images/{filename}` to frontmatter
What’s Next?
- Use ComfyUI, switchable models for speed
- Maybe try LoRA models for consistent style?
- Explore prompt templates for different types of posts
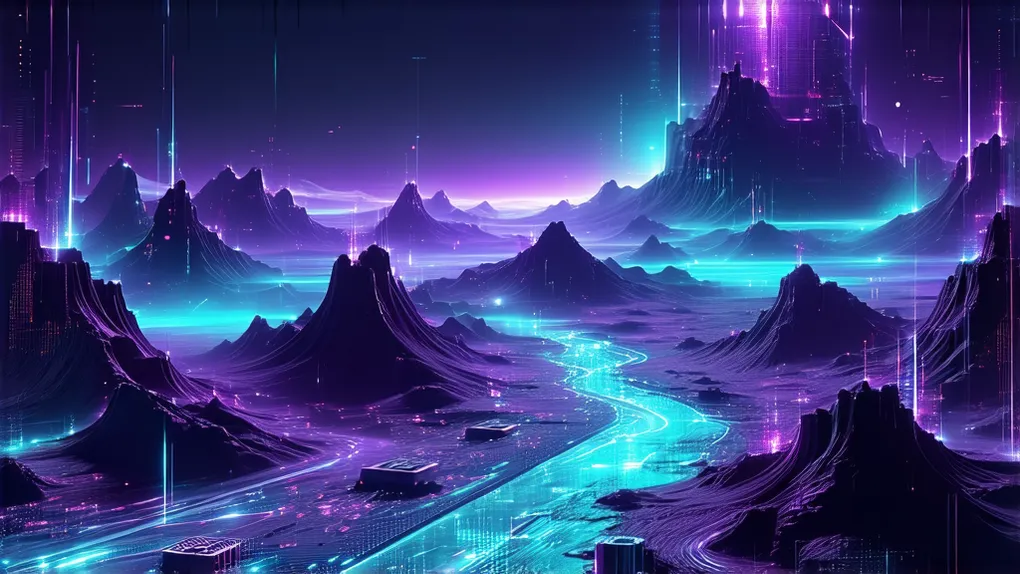
The best part? Now when I write a post, generating a unique hero image is just one command away. No more stock photo hunting, no more generic tech images—just unique, AI-generated art that matches my content. And it’s all running locally on my machine, leveraging that RX 9070XT that’s been mostly idling while I code!
Welcome to the future of content creation—where your writing assistant can also be your illustrator! 🎨